画像トリミング第2弾
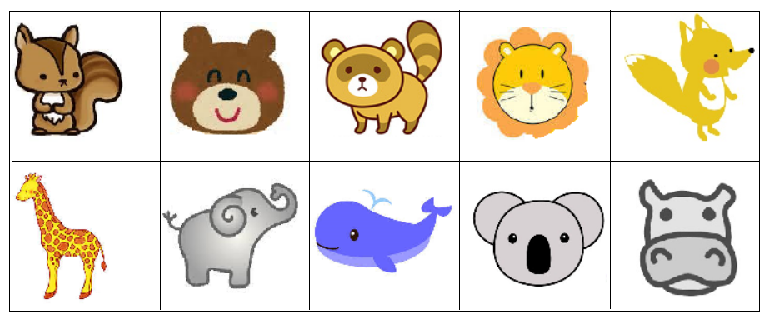
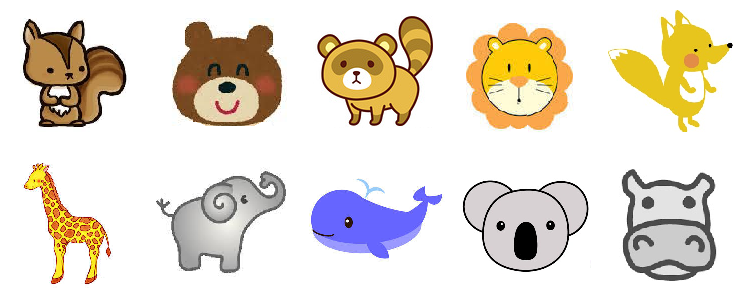
画像の部分表示第2弾です。10枚の動物の画像を2行5列に並べたイメージがあります。これを順に1秒間隔で描画します。

作り方は前回、説明してありますがその肝は、親要素にposition:relativeや画像描画サイズとはみ出し部分の表示法を設定し、イメージ画像は孫要素に入れ、子要素のstyle属性にはposition:absoluteで切り抜く画像位置を指定し、widthとheightで幅と高さを設定することです。
動作サンプルコード
<html>
<body>
<img id="uenozoo" src="https://aidesign.lolipop.jp/wp-content/uploads/2018/06/animals10.png" width="385px" height="160px"><BR><BR>
Ver0.01 <button onclick="if(v==0)setClip();">開始</button> <span id="num" style="color:red">❼whale</span>
<DIV style="position:relative; width: 150px; height: 150px; overflow:hidden; border:0px solid green;">
<div id="sample" style="position:absolute; left:-300px; top:-150px; width:750px; height:300px;">
<img id="animal" src="https://aidesign.lolipop.jp/wp-content/uploads/2015/08/animal10.png">
</div>
</DIV>
<script type="text/javascript" charset="Shift_JIS">
const animal_10=['squirrel', 'bear', 'racoon-dog', 'lion', 'fox', 'giraffe', 'elephant', 'whale', 'koala', 'hippopotamus'];
var v=0;
function setClip(){ //animal10.png original-size : 750*300
document.getElementById( "sample" ).style.left = (-v % 5 * 150) + 'px';
document.getElementById( "sample" ).style.top = (-Math.floor(v / 5) * 150) + 'px';
document.getElementById("num").innerHTML="\u24ff\u2776\u2777\u2778\u2779\u277a\u277b\u277c\u277d\u277e".substr(v, 1) + animal_10[v];
if(++v < 10) setTimeout(setClip, 1000);
else v = 0;
}
</script>
</body>
</html>
動作例

Ver0.01 ❼whale
